
This weekend I was back in the garage again with Richard and Russell. The main objective now is finishing the details and buildings on the terrain boards. By this coming Sunday I will be running a demo game on them to prepare stats and cards for Salute. Please note that these boards are deliberately small at 3x3ft square in size. This small size was selected so I can tour games shows with them and offer two different but simultaneous Gruntz 15mm sci-fi games on a 6x4 total area. They also offer immediate gaming where the forces on the board engage directly, rather than the slower build up you can achieve on a larger board. Last year I found that show games tended to build up more slowly and when my objective is to simply let people get stuck in and learn the rules it would be easier on the smaller layout.
The smaller board size also lets me setup playtest, photography and video guides more easily. I can drop a board straight out and start a game with my son or friends very quickly. I will also use these boards for 6mm games, so the small size is also great for the smaller scales like Battletech or Future War Commander. I think you could actually also run 28mm games on these small boards, especially some of the modern skirmish games which don't need a lot of space, especially if you have walls and buildings blocking line of sight.
The main work on the boards this week included final touch up drybrushing on the Mesa desert layout and heavy final lighter drybrushing on the ash waste / crater terrain. The water pump windmills were also finished for the desert layout and the 15mm Critical Mass Games buildings for the Ash Waste were constructed on plastic bases with added details like air filters, satellite dishes and crates etc.
The following photos are an overview of the various stages of work during this weekend and I have added commentary to each one.

Working on Sunday with an aerial view of Richard working on the water pump windmills, which are N-scale railroad models in plastic. You can see the basic terrain layout below with the Games Workshop Launch Pad / Platform resting in the bottom right corner.
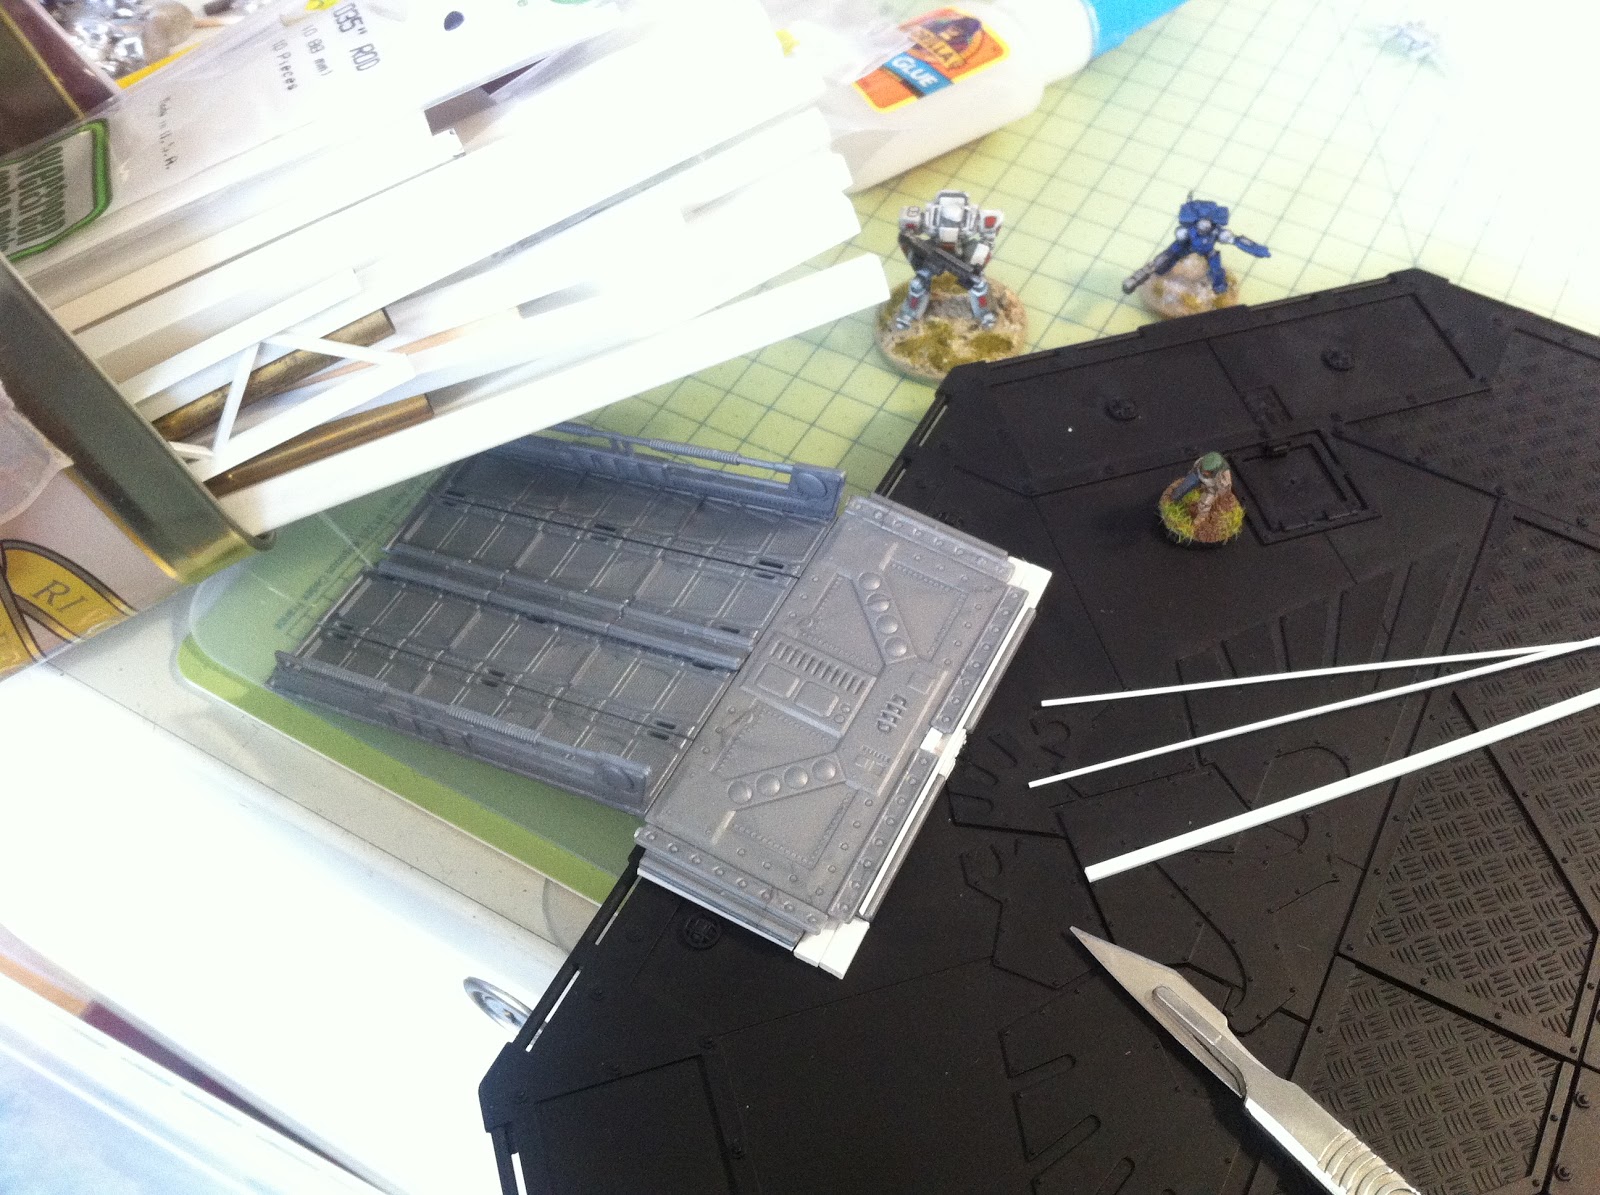
Richard used some of the plastic terrain to build up a ramp that would allow vehicle access to the launch pad. It would have been ideal to integrate this further with the ramp coming up onto one of the rocky messa but running short on time we deiced to mount it direct to the launch pad. In the photo above I am using strips of styrene rod to make the launch pad look more integrated with the ramp. Styrene rod has a million uses and is a very quick way to help finish terrain with edges and panel rods.

I was testing the ramp in this photo before it was glued down. Just to make sure it was capable of taking models. The Tau Barracuda behind is work in progress and has now had another airbrush base coat on the top sections. The Tau Barracuda has an great cockpit (not currently on the model) which looks perfect for 15mm scale.

Another close up of the plastic ramp detail (before the styrene rod is added). Richard did a great job of trimming and selecting the right plastic parts for this kit.

This was work on Monday where I base painted some of the terrain details like this power/air filter/shield array unit. There are two of these on the board and I will be painting them red so they stand out as eye-catching details. The Mig Neutral wash is an enamel wash and takes around 15 minutes to start drying, at which point you moisten a brush with MIG thinners and wipe off the excess wash, leaving the higher panel areas without shade. It was the first time I used it and once dry it looks very effective. I still have a couple of layers of paint to add to these details and might wash them again before finishing. This resin detail is actually a 28mm can recycle unit from Antenocitis Workshop and it works perfectly as some sort of mechanical/industrial item for 15mm or 6mm gaming.

Monday work again here with the crashed ship/drone with its base yellow paint. The model is from Dark Realm Miniatures (6mm scale drop ship). This ship was also washed with the MIG neutral wash and wiped lightly (after 15 minutes) with a moistened brush to remove the wash from the raised surfaces. Toward the back of this photo you can see the legs of the launch platform which are mostly out of view when the platform is lowered into place.

You can see the water pumps Richard was working on at the back of bench. All these items were getting a base prime coat of Tamiya primer. The ramp is also now solidly glued onto the launch pad.

This is close to the final launch pad layout. The primary access ramp will be glued along with the platform to the board. I will also add weathering around the ramp bottom with some built up sand/gravel to make it look like a regular access point. The service ramp on the side is another method for troop access.

On Monday morning I took delivery of this Tamiya liquid primer. It was amazing stuff and left the base of the power module with a very fine, smooth and rock hard primer coat. For smaller detailed terrain and models I will certainly be using it, especially when an spray primer can't be used. However you do need White Spirit on hand to clean the brush because this liquid primer is not typical acrylic. In retrospect I would recommend that items like these resin Fenris power modules are pre-primed and painted before being integrated in the board, it makes it easier to paint without messing up the base board layout. The little resin ramp on the left is from Ainsty and the plastic legs of the launch pad can be seen in the centre of the photo. The legs were super-glued to the board but then also had PVA and sand/gravel mix placed around their bases. The PVA and sand mix dries rock hard which will help keep them in place and makes them look more integrated when weathering is applied.
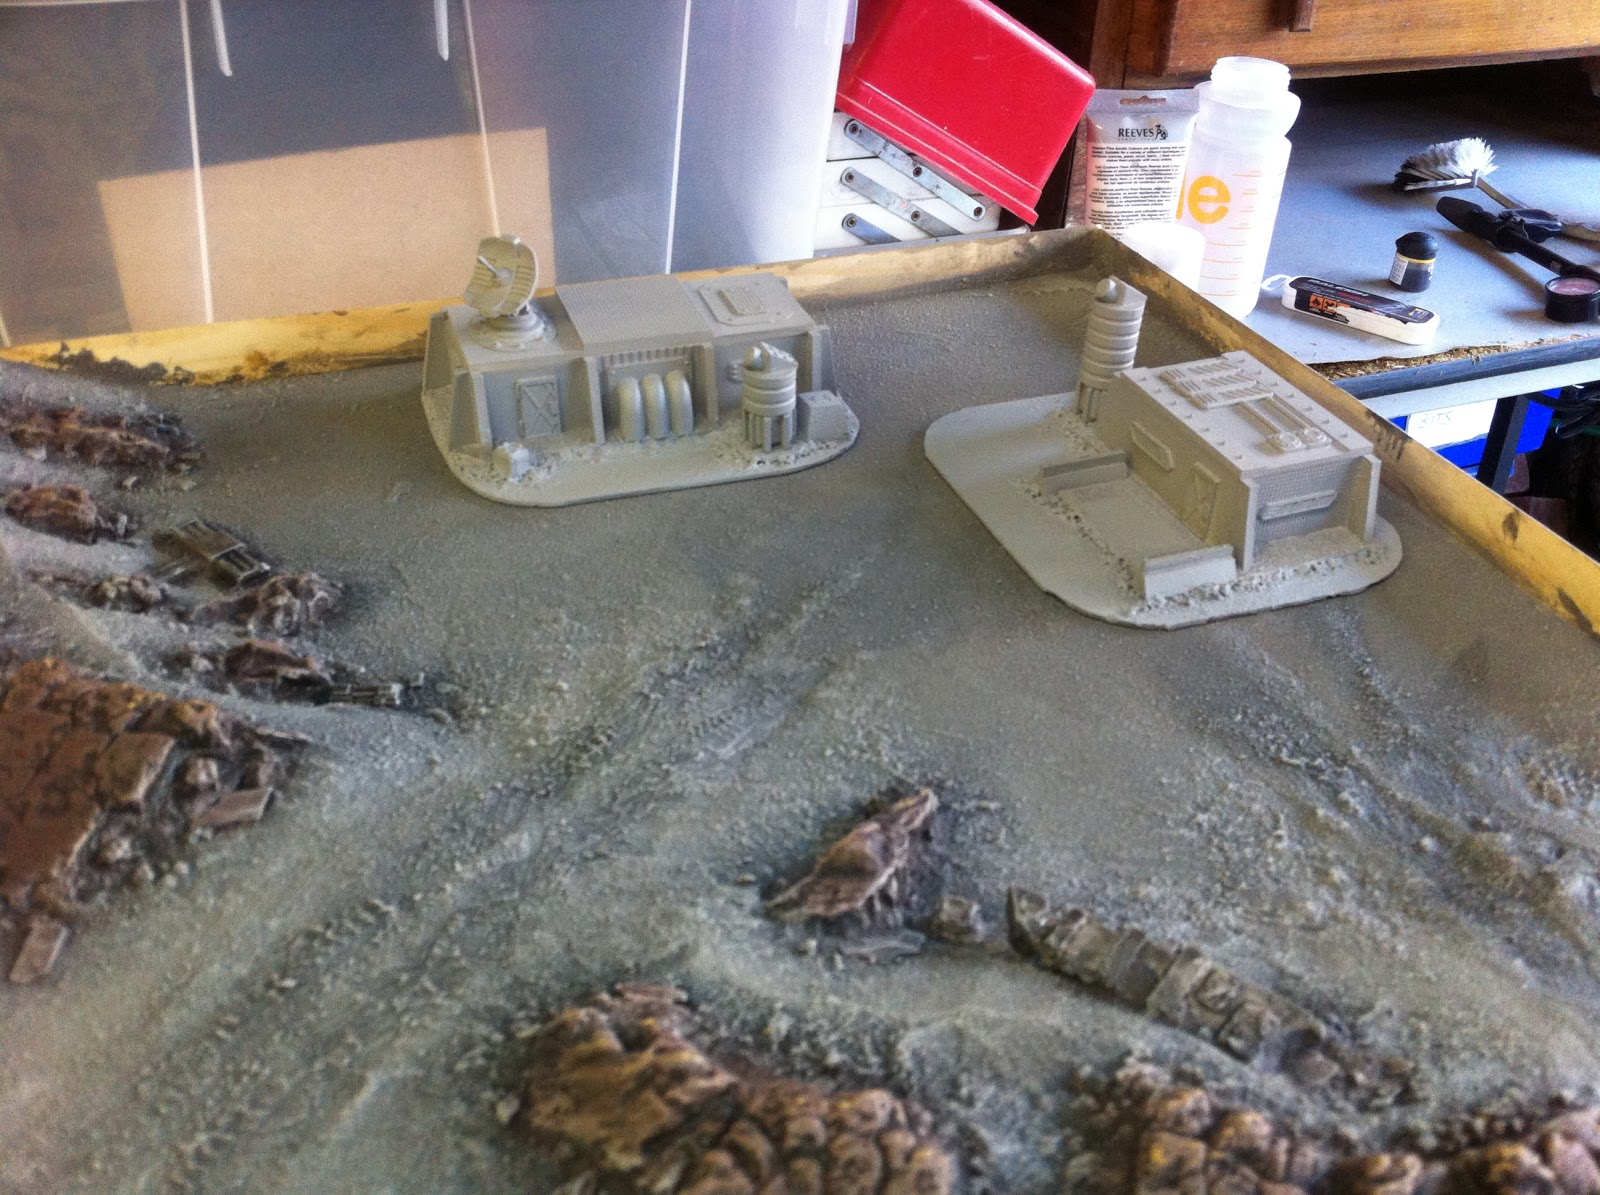
Standing out here are the two Critical Mass Games resin buildings we are using in the crater on the ash waste board. A couple of small details were added to the plastic bases and they will be airbrushed. The bases will look more integrated when they are painted to match the board. I was in half a mind to glue these down permanently and make them look 100% integrated but decided I might occasionally want to place something different in the crater, so making them into removable bases was more flexible.

This was some basic greens and details being added to the stream bed. A liquid resin will be poured into the trench which will show some of the details below. I am also going to add some dry looking static grass around the edge of the steam.

This is just before Russell added a final drybrush of a lighter grey to the base. I had to use a spray of dull coat at this stage because despite our painting the plastic shine of the Games Workshop Craters still showed through the paint. This is a bizarre thing, because they were primed and had three or four layers of drybrushing completed on them. I am amazed that a plastic shine can still show through several layers of dry matt paint. However the purity seal from Games Workshop did a great job of making them very matt looking again and also protected the board a bit.

Early work in progress on Monday with the air vent / purification systems being airbrushed a bright blue. This will be toned down with washes and shading to look dirty and dusty. I also airbrushed a light sand colour into the interiors. The interior detail is not going to be viewed that often, so I won't spend much time on detailing it. The satellite dish is an extra model from Critical Mass Games and fitted perfectly on the top of the resin roof.
Lovely work there Robin, those con goers are in for a treat!
ReplyDeleteThis comment has been removed by the author.
ReplyDelete